0. 환경
Minimun SDK : API28
Target SDK : API33
1. UI를 그려보자
<?xml version="1.0" encoding="utf-8"?>
<LinearLayout xmlns:android="http://schemas.android.com/apk/res/android"
    xmlns:app="http://schemas.android.com/apk/res-auto"
    xmlns:tools="http://schemas.android.com/tools"
    android:id="@+id/main"
    android:layout_width="match_parent"
    android:layout_height="match_parent"
    android:orientation="vertical"
    tools:context=".MainActivity">
    <!--orientation : View 정렬 방향, css의 flexDirection과 비슷한 거 같다.-->

    <TextView
        android:layout_width="match_parent"
        android:layout_height="300dp"
        android:text="100"
        android:textColor="@color/black"
        android:textSize="100sp"
        android:textStyle="bold|italic"
        android:gravity="center"
        />
    <!--@color은 res/values에 있는데 색을 추가하거나 수정할 수 있다.-->
    <!--textSize는 sp, 이외의 Size는 dp 단위 사용-->
    <!--bold|italic : | 기호로 두가지 모두 적용-->
    <!--gravity는 현재 width와 height를 기준으로 적용-->
    <!--layout_gravity는 부모의 width와 height를 기준으로 적용-->

    <LinearLayout
        android:layout_width="match_parent"
        android:layout_height="wrap_content"
        android:orientation="horizontal">

    <Button
        android:layout_width="0dp"
        android:layout_height="wrap_content"
        android:text="초기화"
        android:layout_weight="1"
        android:layout_marginTop="16dp"
        android:layout_marginBottom="16dp"
        android:layout_marginStart="16dp"/>
    <Button
        android:layout_width="0dp"
        android:layout_height="wrap_content"
        android:text="+"
        android:layout_weight="1"
        android:layout_margin="16dp"/>
        <!--layout_weight : 같은 레벨의 View들과의 비율, css의 flex와 비슷한 거 같다.-->

    </LinearLayout>
    <!--LinearLayout의 자식으로 두개의 Button 생성-->

</LinearLayout>
2. UI 요소 접근
val numberTextView = findViewById<TextView>(R.id.numberTextView)=>xml에서 작성했던 TextView 요소에 대한 아이디를 통해 가져옴 <TextView android:id="@+id/numberTextView" />
3. 이벤트리스너 설정
resetButton.setOnClickListener {
	Log.d("onClick", "리셋 버튼이 클릭 됐습니다.")
}

plusButton.setOnClickListener {
    Log.d("onClick", "플러스 버튼이 클릭 됐습니다.")
}
4. 기능구현
var number = 0

resetButton.setOnClickListener {
    number = 0
    numberTextView.text = number.toString()
    //Log.d("onClick", "리셋 버튼이 클릭 됐습니다.")
}

plusButton.setOnClickListener {
    number += 1
    numberTextView.text = number.toString()
    //Log.d("onClick", "플러스 버튼이 클릭 됐습니다.")
}
=> numberTextView.text로 요소의 text를 설정할 수 있음
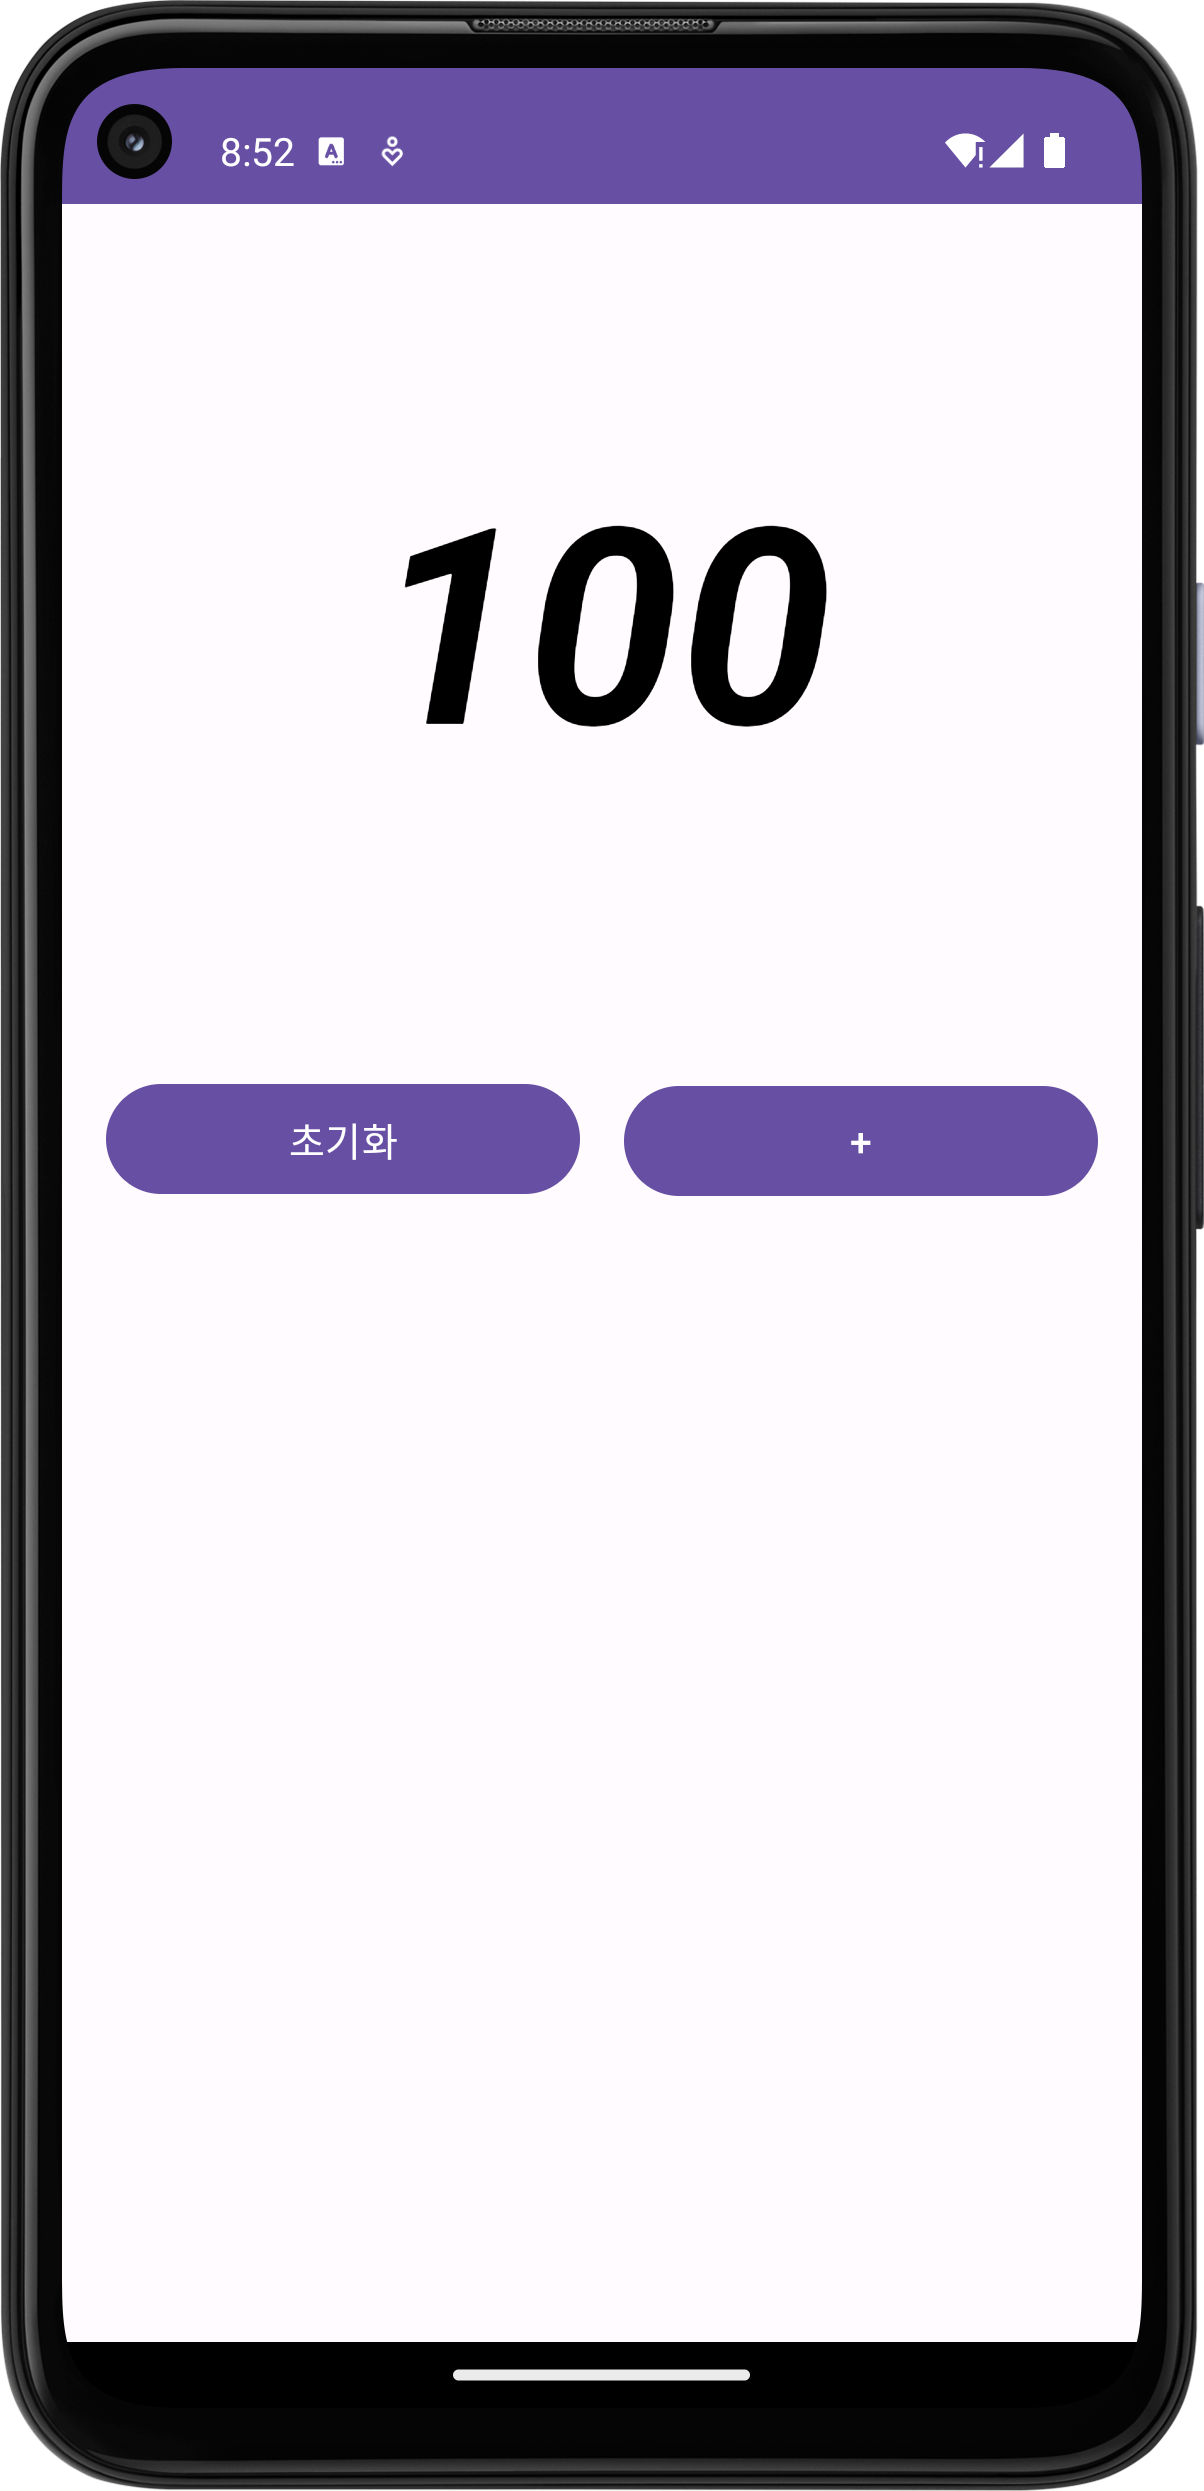
5. 화면
'Kotlin' 카테고리의 다른 글
| [Kotlin + Compose] 달력 구현(월 이동, 도트찍기, 모달) (0) | 2025.02.13 |
|---|---|
| [Kotlin] 앱의 구성요소와 Activity 생명주기에 대해 알아보자 (0) | 2025.01.14 |

